
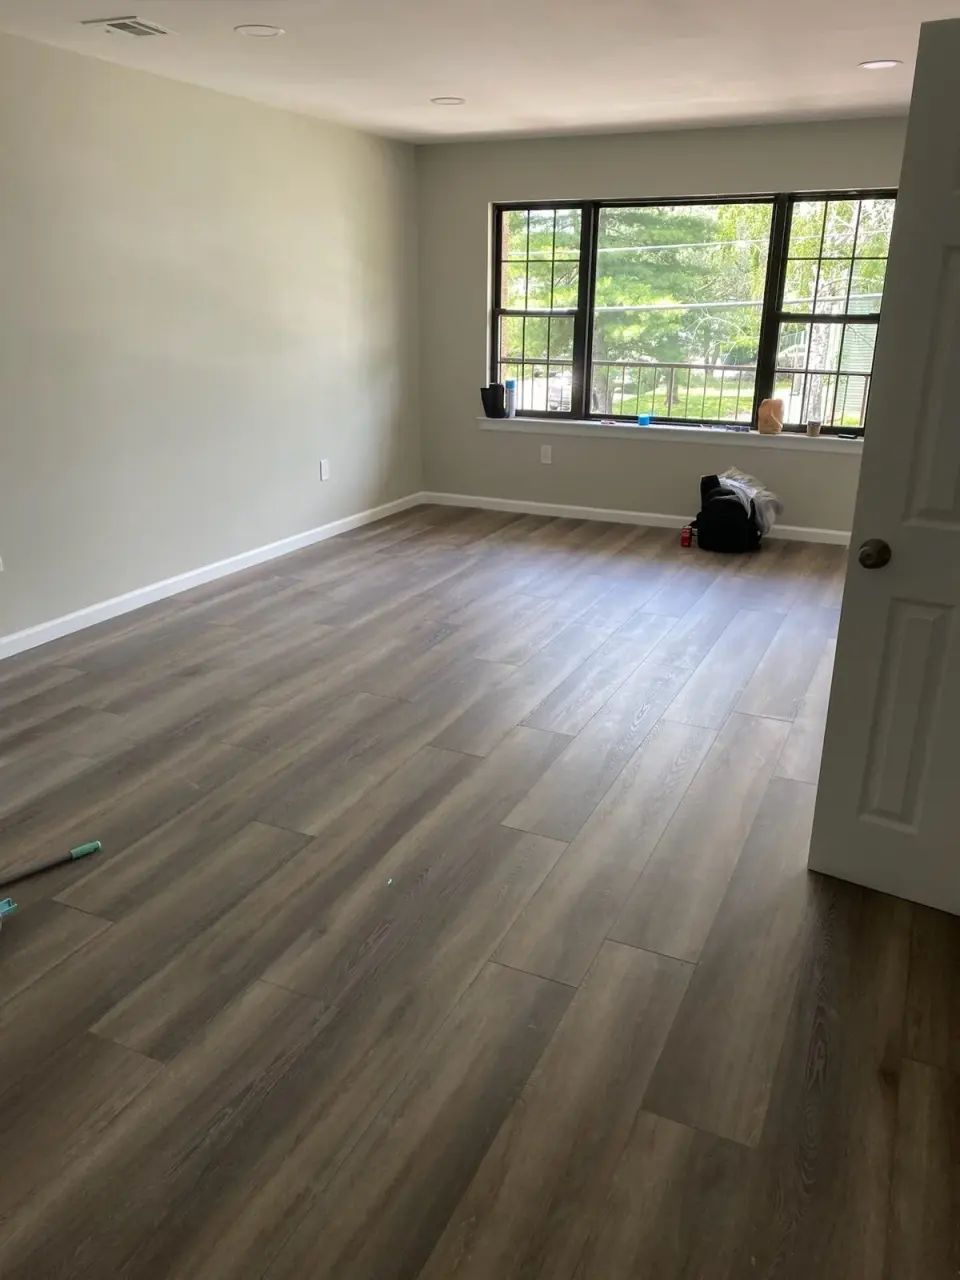
Here is the practical version: beautiful flooring fails when the subfloor and room conditions are wrong — not when you picked the “wrong brand of plank.” In Bergen County homes (split-levels and colonials in Paramus, Teaneck, Dumont, Ridgewood; basements and kitchens that see real humidity), matching material to moisture, traffic, and height transitions matters more than the showroom photo.
This coach-style guide walks hardwood, LVP, and tile: where each wins, how to prep, what installs involve, and cost drivers. Service overview: flooring installation.
Step 1 — Match material to the room (not the trend)
| Room / condition | Strong candidates | Watch-outs |
|---|---|---|
| Living / dining (stable RH) | Solid or engineered hardwood, quality LVP | Solid wood + big RH swings |
| Kitchen | LVP, tile, some engineered woods | Dishwasher edges, water events |
| Bath | Tile (proper wet detailing); some LVP if product allows | Tile needs membrane thinking in wet zones |
| Basement / below grade | LVP, tile, some engineered; moisture-aware systems | Solid hardwood often a poor bet on damp slabs |
| Stairs | Product rated for stairs; professional nosings | Floating floors on stairs are picky |
| Radiant heat | Products approved for radiant | Follow manufacturer limits |
Coach rule: one product is not universal. A great upstairs oak can be a bad basement idea.
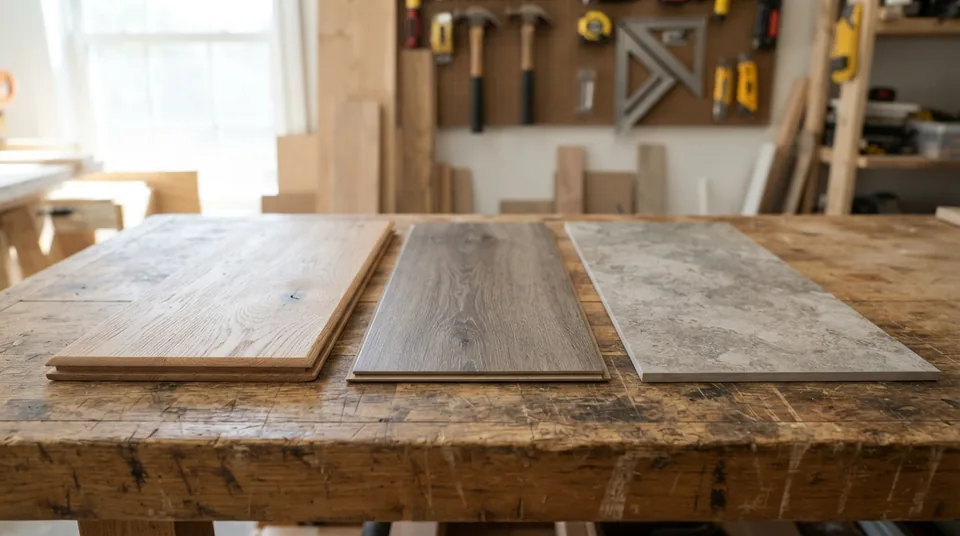
Hardwood: solid vs engineered
Solid hardwood is sandable and classic when the subfloor is dry, flat, and the home’s humidity is reasonably controlled. Nail- or staple-down over wood subfloors is common; glue-down has its place. Acclimate product, leave expansion gaps, and plan for seasonal movement in a Northeast climate.
Engineered hardwood has a real-wood wear layer over a stable core. It can handle more environments than solid in some installs (including certain glue-down or floating methods — follow the product). Still not magic on a wet slab.
Refinish vs replace: if the wear layer and substrate are sound, refinishing can renew solid floors. Deep cupping, soft subfloor, or failed finishes may mean replace.
LVP / LVT: resilient workhorses
Luxury vinyl plank/tile is popular for kitchens, rentals, and basements because it tolerates spills better than many woods. Floating click systems install relatively fast when the floor is flat; glue-down has its uses.
Still do the homework:
- Flatness and cleanliness of subfloor
- Moisture testing on slabs
- Transitions at doorways and different materials
- Quality underlayment where required
- Expansion gaps
Cheap LVP on a wavy floor telegraphs every hump. Prep is not optional.
Tile: durable when the assembly is right
Porcelain and ceramic shine in wet and high-wear zones. Success is substrate + thinset coverage + movement joints + correct layout — not only the tile face. Large-format tile needs flatter floors. On wood subfloors, deflection and underlayment (and sometimes uncoupling membranes) matter. On slabs, moisture and cracks need a plan.
Grout and sealer care are ongoing. Tile does not forgive a soft, bouncy floor.
The real job: subfloor assessment
Before any finish:
- Flatness — industry talk often cites on the order of 1/8" in 10 ft or better depending on product; check manufacturer
- Moisture — meters on wood; slab moisture testing where required
- Structure — squeaks, soft spots, joist issues
- Height stack — new floor + underlayment vs existing transitions and doors
- Radiant or in-floor heat — product compatibility
Most callbacks start underneath. Fix first, finish second.
Subfloor nightmares we see all the time in Bergen homes
These are generalized patterns, not case studies — the kind of underfoot reality that shows up in post-war stock across Paramus, Teaneck, Dumont, Ridgewood, and similar towns. If your walk-through feels familiar, budget prep before you fall in love with a plank.
1. Wavy 1950s–70s floors (the “telegraph everything” house)
Decades of joist bounce, old patch boards, and multiple thin layers of underlayment leave a floor that looks “fine” until you lay a straightedge. Click-lock LVP and large-format tile are merciless: every hump and dip shows. Fix path: sister soft joists if needed, replace rotten patches, then level or overlay to the product’s flatness spec. Skipping this to “save a day” is how you buy a floor that looks old on week one.
2. Moisture under old basement tile or sheet goods
A basement that “never flooded” can still push vapor through a slab. Old vinyl or tile can trap damp, hide efflorescence, or sit over a failed adhesive. New LVP over a wet or marginal slab cups, peels, or grows mold under the field. Fix path: moisture test the slab (not a sniff test), address bulk water if present (basement waterproofing), then choose a product and underlayment system rated for the reading — or stop until the slab is honest.
3. Height mismatches at split-level doorways
Split-levels stack short stairs, tight door clearances, and rooms finished in different eras. A thick tile in the kitchen and thin LVP in the hall creates a trip edge; a new hardwood field can leave doors that will not swing. Fix path: measure the full height stack (existing + underlayment + finish) at every doorway before ordering. Plan reducers, undercut jambs, or thinner products on purpose — not after the truck unloads.
4. Soft spots, squeaks, and mystery layers
Pull a corner of old carpet or vinyl and you may find particleboard that has seen a dishwasher leak, linoleum over linoleum, or staples holding nothing sound. Squeaks are often loose subfloor-to-joist fasteners — not “character.” Fix path: open suspect areas, replace compromised sheets, re-fasten to joists, then reassess flatness. Finish material is the last layer, not the repair.
Install methods in plain language
- Floating — clicks together; needs flatness and perimeter gaps
- Glue-down — adhesion to substrate; prep critical
- Nail/staple — classic for many solid woods over wood subfloors
- Thinset tile — mortar bed or proper underlayment; coverage and curing time
Baseboards and transitions usually finish the look after the field is in. Plan furniture logistics and cure time before heavy traffic.
Bergen-specific realities
Basements: finish only after water is controlled. New LVP over chronic seepage is a short story with a bad ending. Coordinate with waterproofing or drying when needed (basement waterproofing, basement renovation).
Kitchens/baths: align flooring sequence with cabinetry and fixtures (kitchen renovation, bathroom renovation).
Split-levels: height changes between rooms are common; reducers and thresholds need design, not afterthoughts.
Humidity: wood likes stable indoor RH. Winter heating dries homes; summer can add moisture. Discuss expectations for seasonal gaps on wood floors.
Cost and timeline (site-specific)
Single-room flooring typically lands in the low-to-mid thousands depending on material and prep; whole-home projects scale with square footage and product tier. Tile and solid hardwood usually cost more installed than mid-grade LVP. Subfloor repairs and leveling can rival the finish cost when the house needs them.
Timeline: days to a week+ for many projects; longer for multi-material homes, stairs, or heavy prep. Material lead times and furniture moves shape the calendar.
Permits
Finish flooring alone often tracks ordinary maintenance and may not need a construction permit — confirm the Authority Having Jurisdiction (AHJ — your local building department). Structural substrate work, hardwired radiant, or remodel MEP leave that path. Do not invent a countywide rule.
DIY stop-line
Reasonable DIY: simple floating LVP in a flat, dry room with careful reading of
instructions.
Pro-sensitive: tile, hardwood, stairs, uneven/moist subfloors, multi-room
transitions, radiant floors.
Action checklist before you order material
- List rooms and moisture/traffic profile for each
- Moisture-test slabs you care about
- Check door clearances and transitions
- Decide refinish vs replace on existing wood
- Get a written prep scope (leveling, sistering, barriers)
- Confirm product warranties for basements/kitchens/radiant
Red flags
- “Any LVP is fine on any basement” with no moisture talk
- No flatness check
- Tile over bounce
- Hardwood promised on a damp slab
- Bid that is material-only with no prep line
Transitions, stairs, and multi-material homes
Most Bergen houses do not wear one product wall-to-wall. Kitchens meet halls; baths meet bedrooms; basements meet stairs. Plan reducers, T-moldings, and thresholds before you fall in love with a thick tile that cannot meet a thin LVP without a ramp.
Stairs deserve their own decision: matching treads and risers, bullnose availability, and safe nosings. Floating floors on stairs are product-specific; many installs use glued or nailed stair systems instead of the field method used in rooms.
When whole-home flooring is in a larger renovation, sequence with cabinets and doors so undercut jambs and reveal heights are intentional (home renovation).
Acclimation, humidity, and the first season
Wood and some wood-look products need time in the home’s climate before install. Winter heating dries indoor air; summer can raise humidity. Expect seasonal movement on real wood — small perimeter gaps are often by design, not a defect. Extreme swings (closed house, no humidification, or chronic damp) stress floors. A practical coach move: fix envelope moisture problems before premium wood goes down.
Comparing flooring bids
Ask each bid to separate:
- Material allowance or specified product
- Prep (leveling, sistering, moisture mitigation)
- Removal and haul-away of existing floors
- Transitions and stair work
- Baseboard removal/reinstall or new base
- Furniture move (in or out of scope)
A cheap material line with zero prep is how “surprises” appear on day two.